Our products have a limited lifetime warranty. This troubleshooting information is provided to help you determine the cause of any problems you might experience. If you are experiencing a problem that may require service, contact us and we’d be glad to help.
COMMON CONCERNS
If the spark/arc is occurring and the fuel is not being ignited, it is due to one or more of the following:
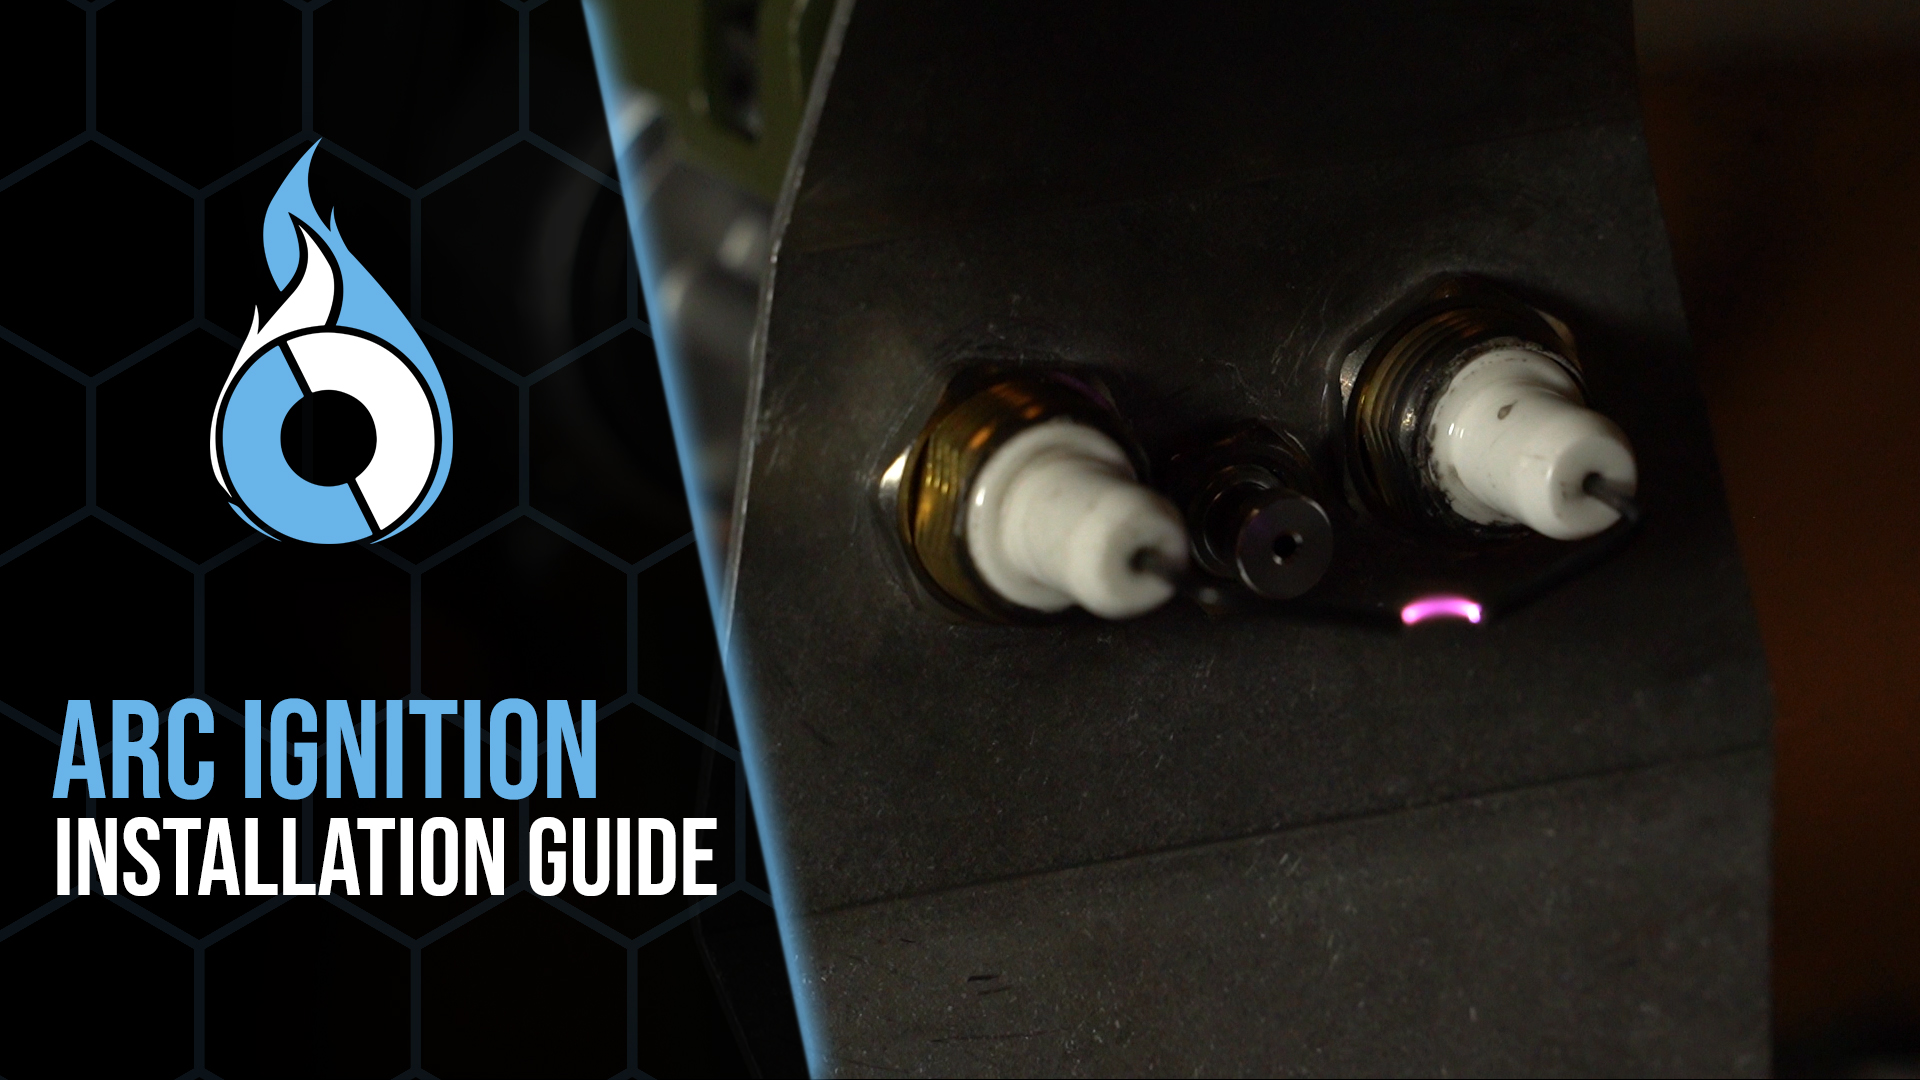
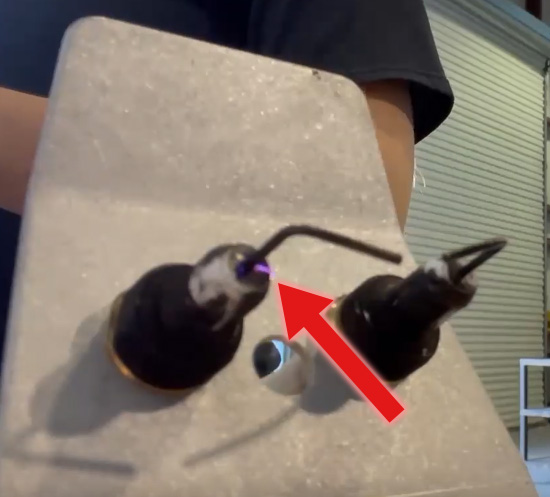
1. The outside temperature is too cold, causing minimal fuel vapor to be present. If you are trying to operate in very cold temperatures, and yours is equipped with a pulse-style ignition (loud, blue sparks like a stun-gun), you may need the arc ignition kit, which allows for reliable ignition down to at least 0°F with gasoline.
2. The fuel is not flammable. For example, trying to use 100% diesel, which is not typically flammable unless it is in an environment that is at least 125 °F to sustain combustion.
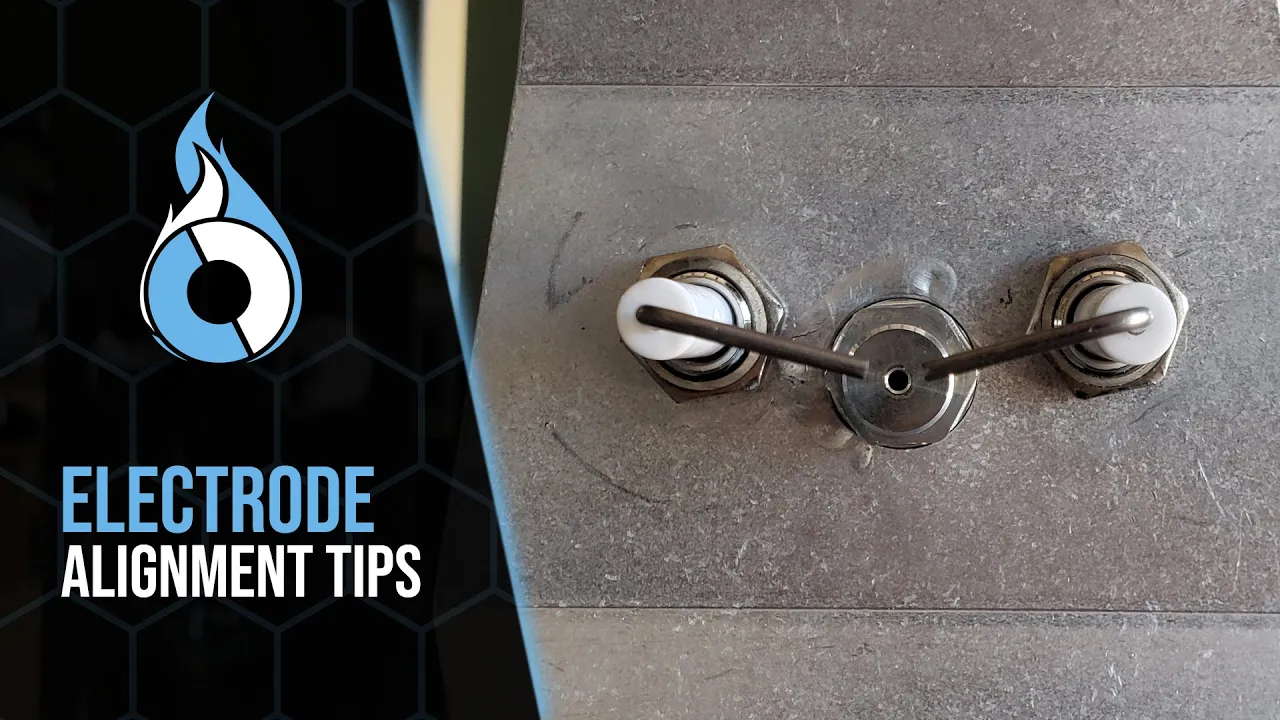
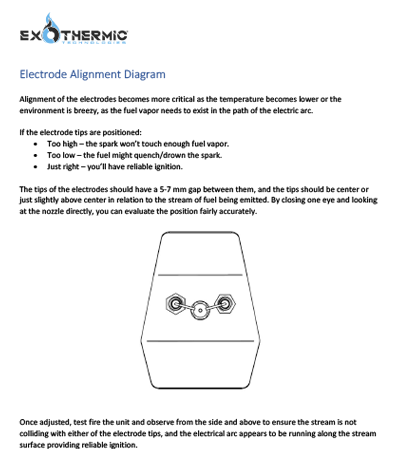
3. The electrodes are not positioned optimally. This becomes more important as the temperature drops or it’s breezy, as that fuel vapor needs to be in the path of the spark. See the Electrode Alignment diagram.
Ensure the electrode insulators are clean and white, not covered in black carbon.
If the issue persists after they are clean, something else is going on such as a cut/pinched wire, loose connection, or bad transformer. Contact us and include a picture of your electrodes, and we’ll investigate and resolve the issue for you.
The system should be able to send out a continuous appearing blast of flaming fuel 25 feet in length at the beginning of each blast you send. When holding the trigger down, the fuel and flames will pull back slightly due to the fact that after the initial stream is emitted, we are sending fuel into an already existing fireball and burning it up faster.
If your system seems to suffer significantly shorter distances (< 15 ft), one or more of the following is happening:
1. Wind is negatively affecting the stream’s consistency, causing it to scatter and atomize into droplets more easily and burn up faster. We are working on a solution to increase the resilience of the stream when it is windy. If you have access to an indoor warehouse or otherwise windless environment, place a rock or other marker at the 25 foot mark and have someone film from the side as you send a few 2 second bursts. If it doesn’t reach the marker in a windless environment, consider items 2 and 3 below.
2. The stream is contacting one of the electrode tips. If the stream physically contacts the electrode tips, it will cause a severe reduction in performance as it scatters and breaks the stream immediately as it exits the nozzle. Adjust the electrodes so there is room for the stream to pass by. Video instructions are available on the Videos tab of this page.
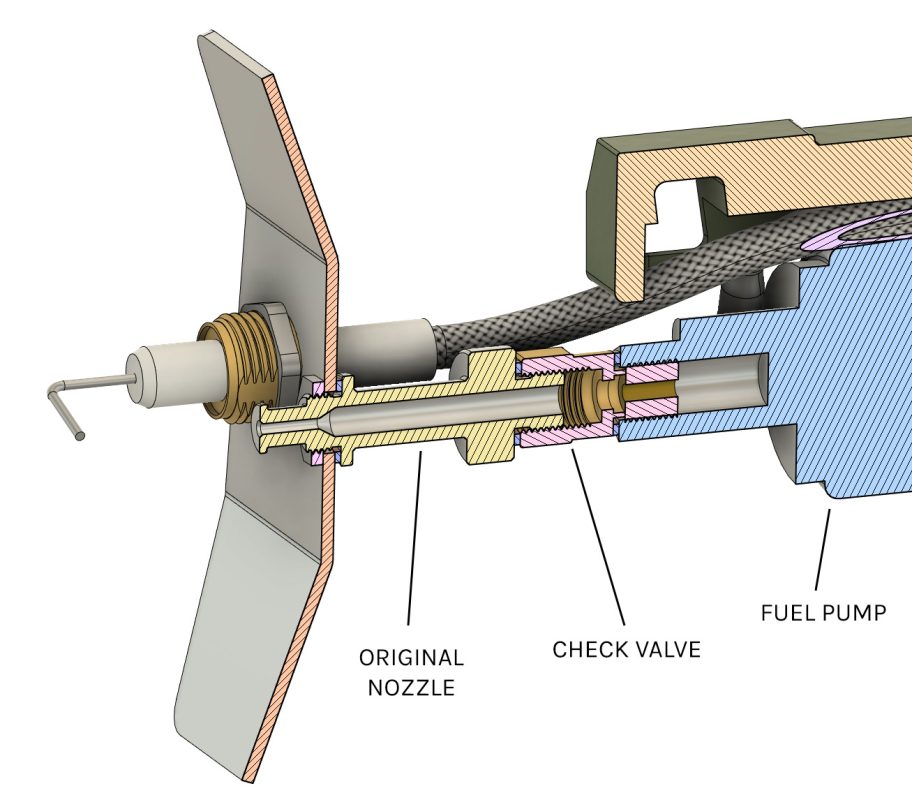
3. There is a problem or obstruction with the fuel system (check valve, pump, or nozzle). Either something’s clogging things up, the check valve is stuck partially open, or the pump has an issue. Contact us and we’ll figure it out quick.
Gasoline naturally wants to become vapor, and it will form up to about 10-11 psi in the process if contained. The check valve up front between the pump and nozzle opens at about 5 psi to allow fuel flow. That’s enough spring pressure to close the valve and pinch flow between each fire blast without hindering performance, but it’s not strong enough to prevent the vapor pressure in the tank from forcing the fuel out once it builds. Depending on temperature/sunlight/humidity etc. this can occur pretty soon after you set the unit down or take a break from shooting.
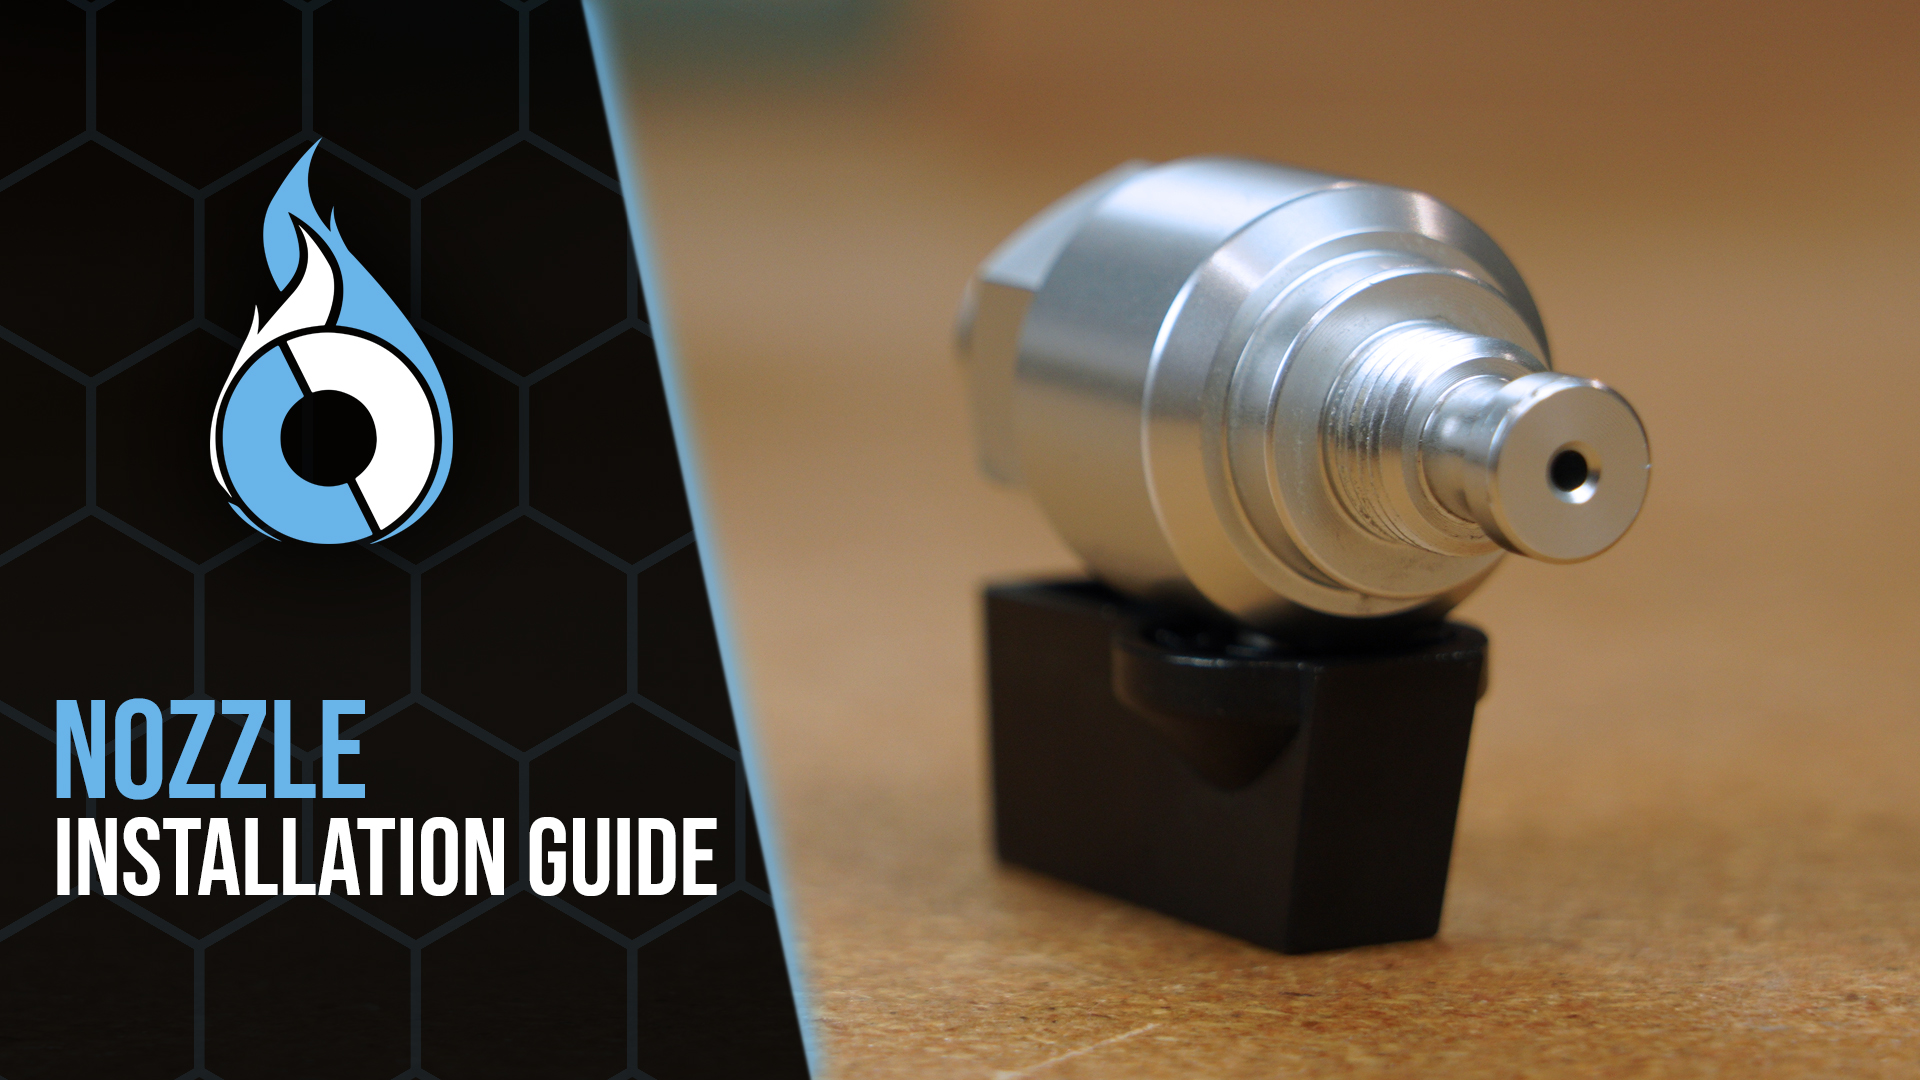
Not to mention, there’s always some fuel inside the nozzle itself between the exit orifice and where the check valve seals, which is why the nozzle end can often act like a candle until you blow it out.
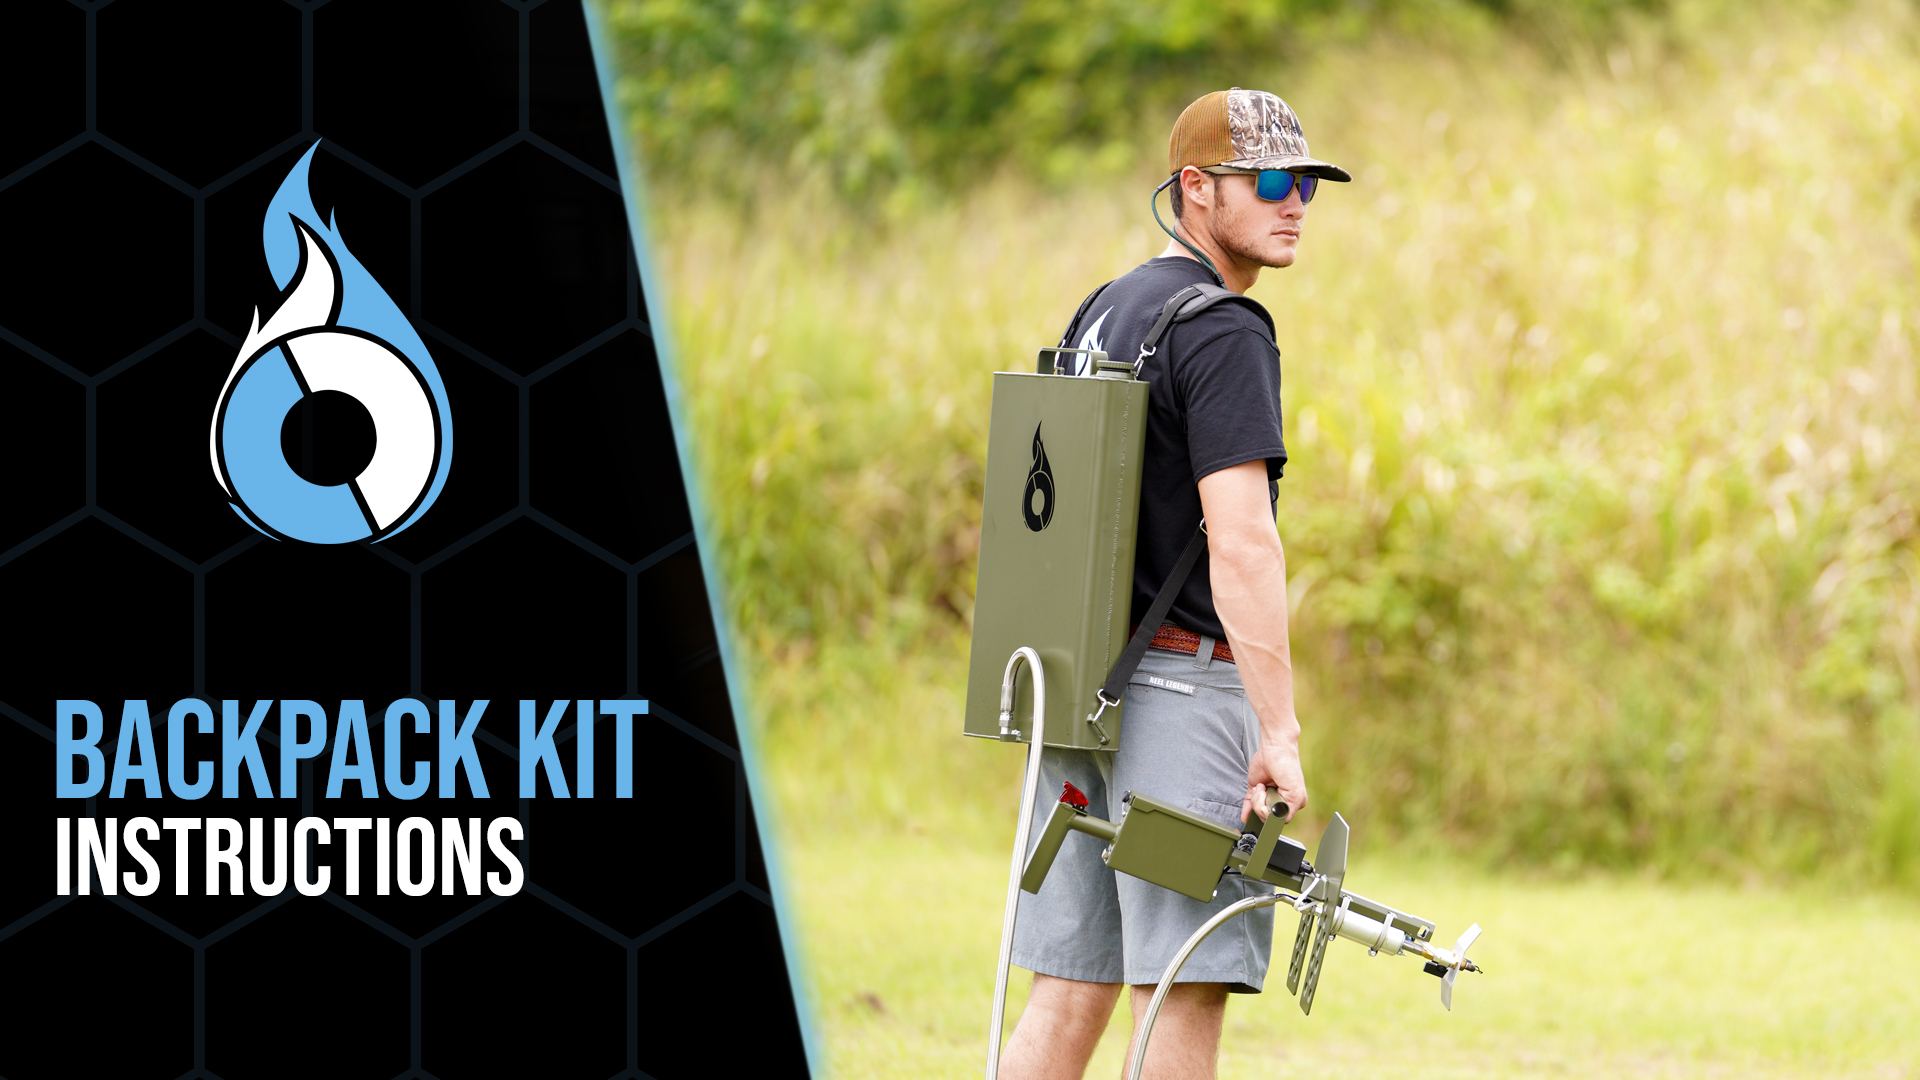
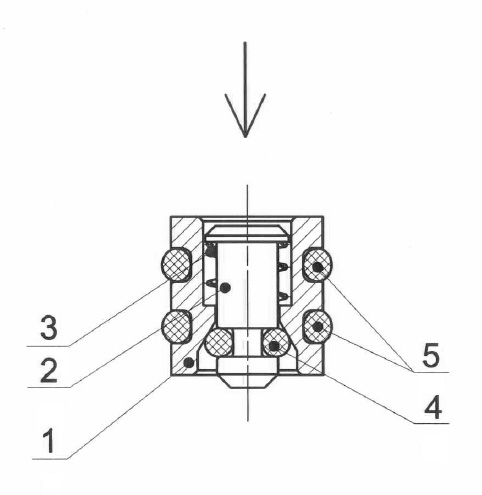
We developed a nozzle with a built-in manual valve (now standard on all models) which not only acts as a secondary safety (the pump cannot overcome the valve), but it prevents any fuel in the system from making its way out the nozzle. Particularly useful on backpack equipped flamethrowers where there will likely always be leftover fuel between uses.
Make sure there isn’t a snake nearby, but yes, the check valve in the center of the cap can and will flutter under various conditions, producing a hissing/whistling sound. You can quickly equalize the pressure difference by opening and closing the cap, but it may continue shortly thereafter. It’s commonly in a state of being partially open.
If you aren’t experiencing reduced performance or liquid fuel leaking, your valve is operating normally. The check valve opens slightly to allow air in to replace the fuel drawn out and prevent a vacuum condition. As long as it is able to open (you can gently press it with a pick or screwdriver from the outside and see how easy it is to move) and it seals any liquid spills, everything is exactly as it should be.
Nature of the beast. We’re sending a stream of fuel out of a nozzle at high speed with the goal of achieving maximum distance with the inputs supplied as well as being useful (igniting your target). To do so, enough fuel is required to maintain the stream’s range and support continued ignition of what you’re aiming at.
How much of the stream and the scattered particles around it ignite depends on temperature, humidity, wind, fuel pressure, fuel velocity, electrode position, nozzle geometry, etc.
This is an indicator of significant electrolytic decomposition within one or more of the three cells of the battery. Electrolyte decomposition is a natural process that occurs slowly within cells when charging and discharging lithium-polymer batteries throughout their lifespan, and all batteries will require replacement one day. We typically recommend replacing the battery at an interval no longer than every 2 years or 200 cycles (fully charging/discharging) to ensure safe and proper function.
Excessive puffing that is noticeable within only a short time is indicative of a problem. This can occur if the battery is stored in a hot environment for long periods of time, stored fully charged indefinitely, or if the battery was manufactured incorrectly.
Dispose of any bad batteries at a local recycling facility. Tossing them out in your own garbage is a major fire hazard (and illegal). Call2Recycle is a great resource to locate nearby rechargeable battery disposal locations. Home Depot or Lowe’s are our typical recommendations.
troubleshooting guide
Pulsefire® LRT/UBF
A step-by-step guide to determining the root cause and solution of any problem.

